Irrigation systems play a vital role in maintaining lush, healthy landscapes, particularly in areas where water conservation is essential.
Central to these systems are irrigation valves, which control the flow and distribution of water to various parts of the landscape.
The process of locating irrigation valves is crucial for installation, maintenance, and troubleshooting.
This comprehensive guide delves into the types of irrigation valves, such as globe, angle, anti-siphon, and solenoid valves, each suited for specific applications and environments.
Understanding these types helps in locating irrigation valves, ensuring they function optimally in any irrigation setup.
Beyond types, the guide also explores practical aspects, including identifying and locating irrigation valves in a system, their operation, and steps for valve replacement.
This knowledge is instrumental for landscaping, whether for residential or commercial properties.
Types of Irrigation Valves

There are several types and ways of locating irrigation valves commonly used in lawn sprinkler systems, each with its unique components, materials, and use cases:
- Globe valves: These are the most common type of irrigation valve. Thanks to their internal diaphragm and spring mechanism, they provide reliable and consistent water flow control. Typically made of brass, PVC, or other durable materials, globe valves are often used in residential and commercial irrigation systems. However, they may be more susceptible to debris clogging than other valve types.
- Angle valves: Like globe valves, angle valves are designed to handle sharp turns in the water supply line. This design minimizes pressure loss and can help prevent water hammer issues. Constructed with a 90-degree turn, angle valves efficiently regulate water flow, particularly in systems with limited space. On the downside, they may be more challenging to install and maintain than other valve types.
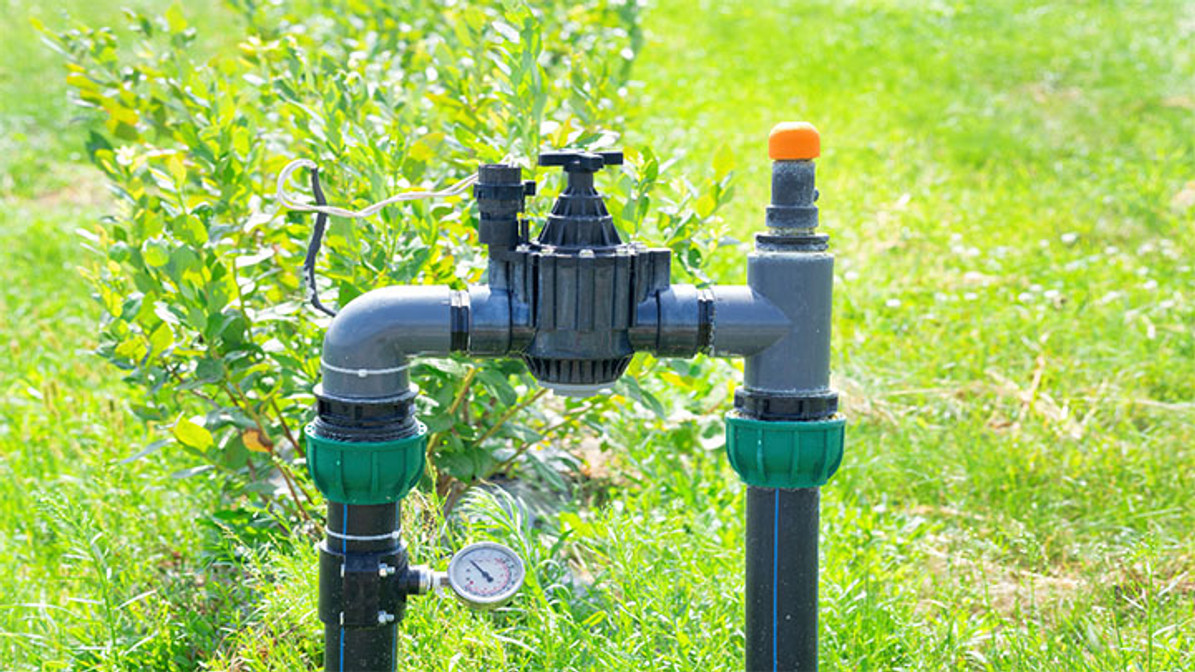
- Anti-siphon: These valves are designed to prevent backflow and protect the water supply from contamination. They must be installed above ground, with the valve body typically made of durable plastic. Anti-siphon valves have an internal atmospheric vent that opens when the valve closes, breaking the siphon and preventing backflow. They provide flow control and backflow prevention but can be more expensive than other valve options.
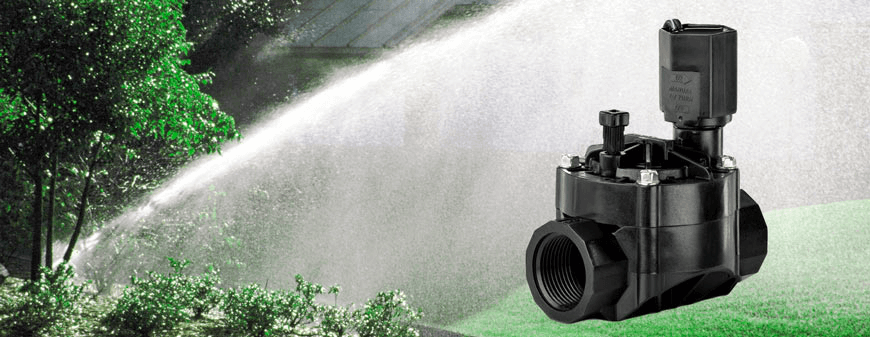
- Solenoid valves: Solenoid valves regulate water flow in irrigation systems through electromechanical operation. An electrical coil energizes the valve to allow water flow and de-energizes it to stop it. These valves come in different sizes, materials, and configurations and are essential in residential and commercial irrigation systems.
Identifying and Locating Irrigation Valves
To identify the type of valve already installed in your system, look for any markings or labels on the valve body or examine the valve’s shape and features.
Globe valves usually have a round or slightly oval body, angle valves have an L-shaped body, and anti-siphon valves have a vented body with a protruding air gap.
You may also need to dig around the valve to expose it fully for inspection. If the valve is hidden in a valve box, remove the box lid to access it.
Valve Location
If the irrigation valve is not visible above ground, it may be buried or hidden in a valve box.
Common places to look for the valve include near the water source and the main water line.
You may also find the valve near the controller, typically connected via electrical wires.
To locate the valve, consider mapping out the irrigation system layout to understand the general direction of water flow.
Look for clues such as soggy areas in the lawn or valve box covers that might indicate the valve’s presence.
A metal detector can also help you locate valve boxes with a metallic component, like a metal lid or reinforcement.
Valve Operation and Controller Function
Operating the valve typically involves turning a handle manually or with an actuator to adjust the flow of water.
Rotate the handle clockwise or counterclockwise to turn the valve on and off as needed. Remember to shut off the water supply before making any adjustments.
In many irrigation systems, a controller or timer is used to automate the valve operation.
Controllers can be programmed to open and close the valves at specific times and intervals, ensuring efficient water usage.
To program the controller, consult the manufacturer’s instructions and be prepared to input information such as the desired watering days, start times, and duration.
If you encounter problems with the valve, such as leaks or a valve that won’t open or close, check for debris or damage to the valve components. You may need to clean or replace parts to resolve the issue.
Valve Replacement
You may need to replace the valve if it is damaged or not working correctly. Follow these steps for valve replacement:
- Shut off the water supply to the irrigation system.
- Remove any soil or debris covering the valve to access it.
- Disconnect any electrical wires connected to the valve.
- Unscrew the valve from the water supply line and remove it.
- Inspect the valve components for damage or wear.
- Choose an appropriate replacement valve, considering factors like valve type, material, size, and compatibility with your system.
- Gather the necessary tools for the replacement process, such as a wrench, valve key, and pipe sealant.
- Install the new valve by connecting it to the water supply line and securing it in place using the pipe sealant to ensure a watertight connection.
- Reconnect the electrical wires to the new valve.
- Turn on the water supply to test the system and ensure proper operation, adjusting the controller settings if needed.

