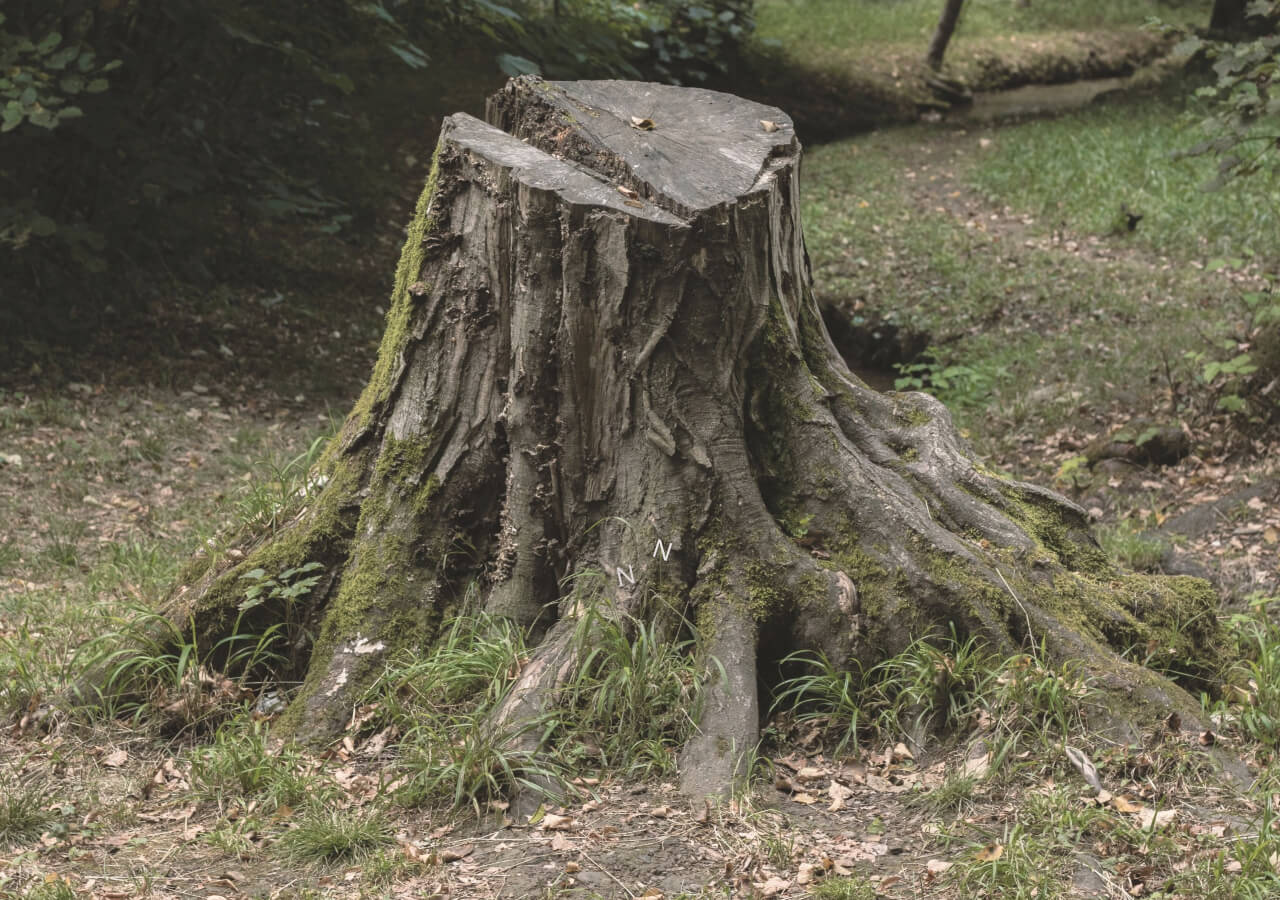
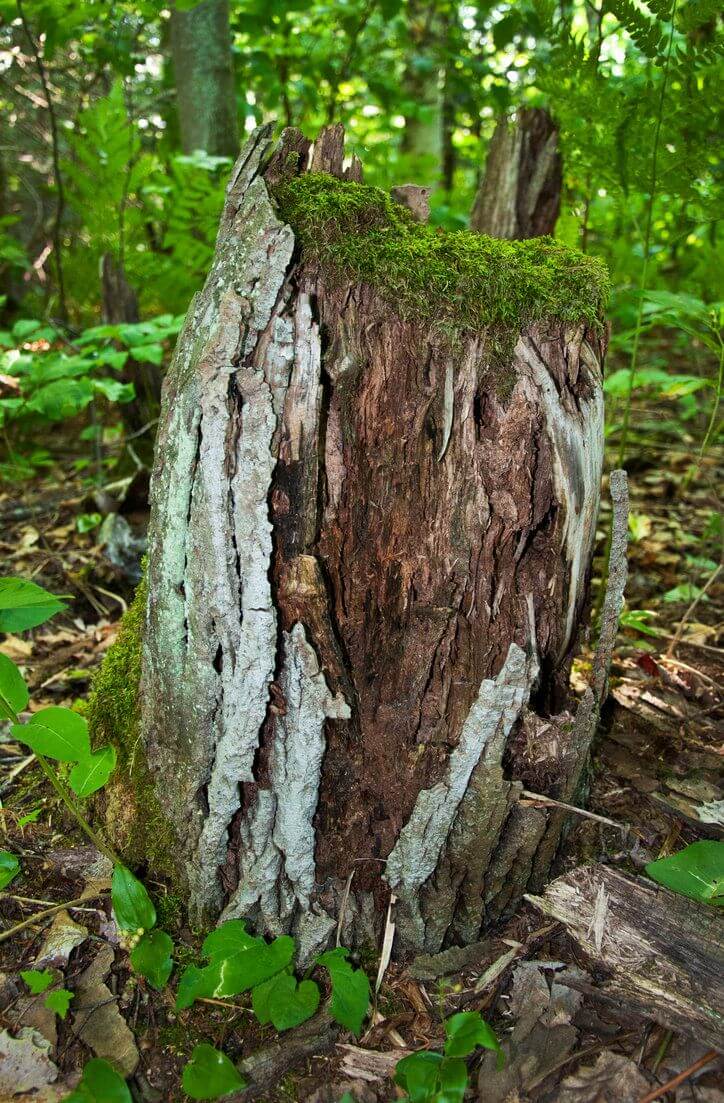
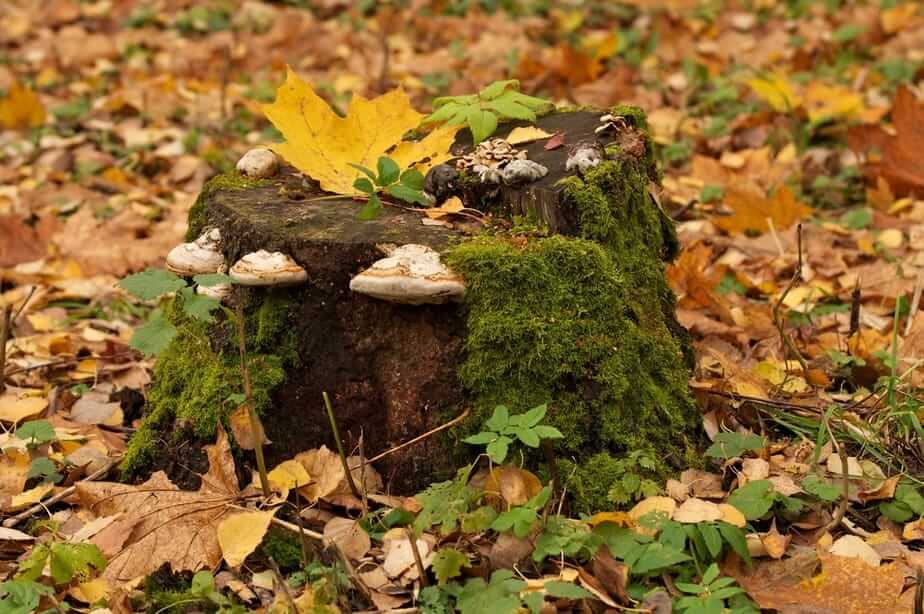
Does your garden look like lush green grass, beautiful blooming flowers, big trees lining up the wall, colorful butterflies lurking around, and then there is the tree stump ruining the view? You can always be creative and turn it into useful things like a dining table, birdbath, or even a planter.
But the tree stump can also sometimes turn into a breeding place for unwanted pests.
The tree stump is a health hazard because it can attract undesirable pests like termites and even fungi and bacteria. If a tree stump is left to decay on its own, the process might take up to ten years.
When considering rotting a tree stump in Oregon, the decay rate depends on various factors such as the tree stump species to be rotted, the size of the tree, the climate, environmental factors, and weather conditions.

But you do not need to fret about it since there exists a technique where you can rot the tree stump quickly. The method is called ‘The Chemical Method.’ It involves steps like drilling the stump and putting chemicals in the holes to speed up the decaying process to help with the breakdown of fiber and roots.
Let us take a quick look at the steps in detail. Firstly, ensure that the tree stump is dead by waiting at least a month after cutting the tree. Before beginning, cut the tree stump as close to the ground as possible so that the chemicals will be left with less mass to consume.
Do not allow the chain saw to meet the ground, as this can reduce the sharpness of the chain saw. Take all the precautions while using the chainsaw, like wearing steel-toed boots for this part of the process.
Step 1: Consider a dry day or a couple of dry days after to begin the process. This way, the tree stump will be seeking moisture and will soak the chemicals quicker.
Step 2: Now, drill holes into the stump on the top and the sides in a downward direction using a driller with a ten-inch or more extended bit or a wood splitter. Make sure that the holes are a few inches deep.
Use the most expansive drill bit possible and available, and the deeper and broader the holes are, the better amount of fertilizer can fill in the holes.
Now comes the part where you put in the chemicals. In the case of Oregan, there are a few legal restrictions about the sort of chemicals one can buy for the rotting of the tree stump.
Step 3: Buy a commercial fertilizer rich in Nitrogen, as this will speeden up the process and give quicker results. Cow manure is another efficient fertilizer that helps quicken the pace of rotting.
You can also make use of Epsom salt, which has the same dissolving properties as Nitrogen. The difference is Nitrogen and Epsom salt is that Epsom salt is more organic. It is also very pocket-friendly.
If choosing the Nitrogen-based fertilizer, look for a fertilizer in which the initial three numbers of the fertilizer’s NPK is the highest – straight nitrogen fertilizer would be 45-0-0. Products that are based on Potassium nitrate are meant to promote the activity of wood-devouring microorganisms.
Epsom Salt will draw moisture out of the soil, depriving the tree stump of resources required to grow hence drying it and causing it to rot.
You can also use undiluted white vinegar to dry the roots and eventually kill them, helping to speeden up the decaying process. Fill a spray bottle with undiluted white vinegar, and then spray it over the roots.
Step 4: Fill the drilled holes with a bit of water and then put your choice’s chemical into the drilled holes on the stump. Make sure that each hole receives the maximum amount of fertilizer that it can hold.
Step 5: After this, wet the sides and top of the tree stump. Wet the ground all around the stump. In this case, a little standing water is okay. The stump should be wet over the top and around the base. Then cover it with a plastic tarp. This will help retain the moisture in and around the stump; moisture is the ultimate requirement for quickening the rotting process.
To ensure that the moisture is retained, you can also surround the stump with a waterproof fence, sort of a structure that is about 2 feet higher than the top of the stump. This can be used in place of the plastic tarp. 5-gallon buckets of plastic with the bottoms removed are great for small to medium stumps, and the top half of a plastic barrel is good to go for large stumps.
Step 6: The next step is to apply litter or mulch over the top of the tarp. Organic materials like straw and hay are the best for this purpose. Wet mulch is heavier, which will also help keep the tarp in place. Depending on the environmental factors around, you can use rocks or heavy stones and rocks as a secondary option to weigh down the tarp further and keep it in place.
Step 7: The final step is to be patient with the process.

You can speed up the process by occasionally taking out the mulch and tarp for a while, thoroughly soaking the stump and the ground around the stump once again. If you still have the fertilizers left behind from the previous use, you can add more of them to the holes. Then put the tarp back again and the mulch and soak it once again.
Over time a hole will appear as the stump continues to decay. Large roots will also start to disintegrate, decay, and possibly cause depressions. Make sure you fill in these depressions with dirt to prevent attracting insects or worms.
Even if the tree stump does not disintegrate, it will at least become very soft and spongy. You can then break the surface snags by whacking them a few times with the back of an axe or a sledgehammer.
The tree stump can be rotted quickly in these seven simple steps. Keep in mind that the drilled holes’ size, the amount of fertilizer, and the moisture retained will be the deciding factors in the rate of decay.
Save this article for when you need to get rid of a tree stump in your yard.

