
Tiles, especially porcelain tiles, have been quickly replacing other options and asserting their dominance on walls and floors, especially the kitchen walls and bathroom walls.
Due to their affordable price and the chic look they bring to your walls and floor. There are many benefits to using tiles around the home, especially for bathrooms.
But let us say that you are done with all the construction work at your place and the beautiful tiles have been placed on the wall, but now you need to drill through it to place some racks or other accessories.
How do you do it without cracking your tiles? Drilling porcelain tile is more complex than other tiles, given that they are much denser, but it does not mean that you cannot do it.
So, in this guide, we will take you through the process of drilling porcelain tile with maximum efficiency and without cracking them.
Guide for Drilling Porcelain Tile
1. Ensure That You Have the Right Tools for The Job
If you are considering doing the drilling with a standard set of tiles, then here are the tools you will need- a battery-driven drill, a drill bit, a sponge, water, measuring tape, and a marker or pencil.
As the names suggest, the pencil or marker will be used to mark the positions where you want to drill it.
The measuring tape measures the distance from the corners to the drilling point or between two drilling points to ensure it is even.
The sponge and water are to clean up after the work is done and cool down the bit during the process, the drill bit that will be assembled with the machine to drill a hole through the tiles, and finally, the drilling machine that will lead the entire process.
However, the kind of drilling machine you use will vary from tile to tile.
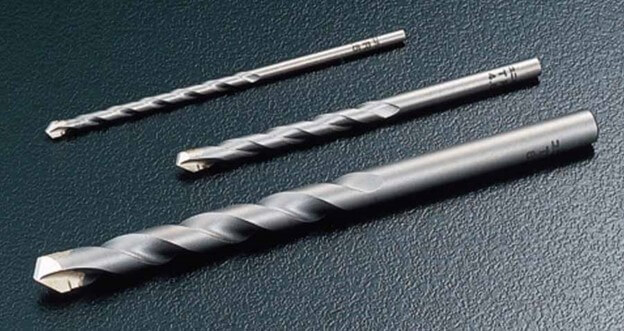
So, when drilling porcelain tile, you will need better tools. For porcelain tiles, you need to choose a diamond-tipped drill to ensure the work is done perfectly.
Diamond-tipped drills are a little more costly than carbide-tipped ones, but they are worth the investment, or you might end up ruining the surface of the tiles.
Also, invest in some safety goggles and masks if you plan to do the job yourself.
2. Examine the Site of Drilling Before Proceeding
When drilling porcelain tile, you create a hole through the wall from one side to the other.
But you must examine and consider what is behind the tiles before you get into this project.
When are you drilling on a wall? What could be behind it? Wires and pipes, correct?
If you are not careful enough and drill right through the wires and pipes, you can unintentionally cause a huge accident, not to mention the extra work you must do afterward.
So, how do you prevent an accident like that from happening? You must assess the site, check what is behind the wall, and find a safe spot to drill.
But how do you find out if the spot you chose for drilling is safe or not?
The first easy way is to find a detailed blueprint of your apartment or house.
You can contact your realtor or the local municipal office for the blueprint.
They can help you with that, or you can also use a stud finder to check if there is any wooden stud nearby.
And while doing it the other way around, if you want to detect if there are any wires behind the wall or not, you can also use an electronic stud.
Be completely sure of what is behind the wall before you proceed.
3. Proceed Only After Measuring and Marking
If you have a little bit of experience in drilling porcelain tile, you will know that the drill bit tends to slip sometimes.
This will increase the chances of you scratching the tiles and damaging them permanently when you are drilling.
You need to ensure that all the force is exerted on one area so that the drilling is done faster and more efficiently, especially for porcelain tiles, which are more challenging to drill through due to their high density.
You will now need to use the pencil or marker we discussed initially to do this work properly.
Take that marker and the measuring tape, and find the intersection point from the bottom and the side where you want to drill the hole.
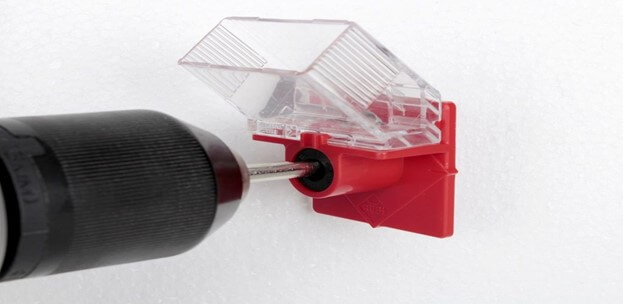
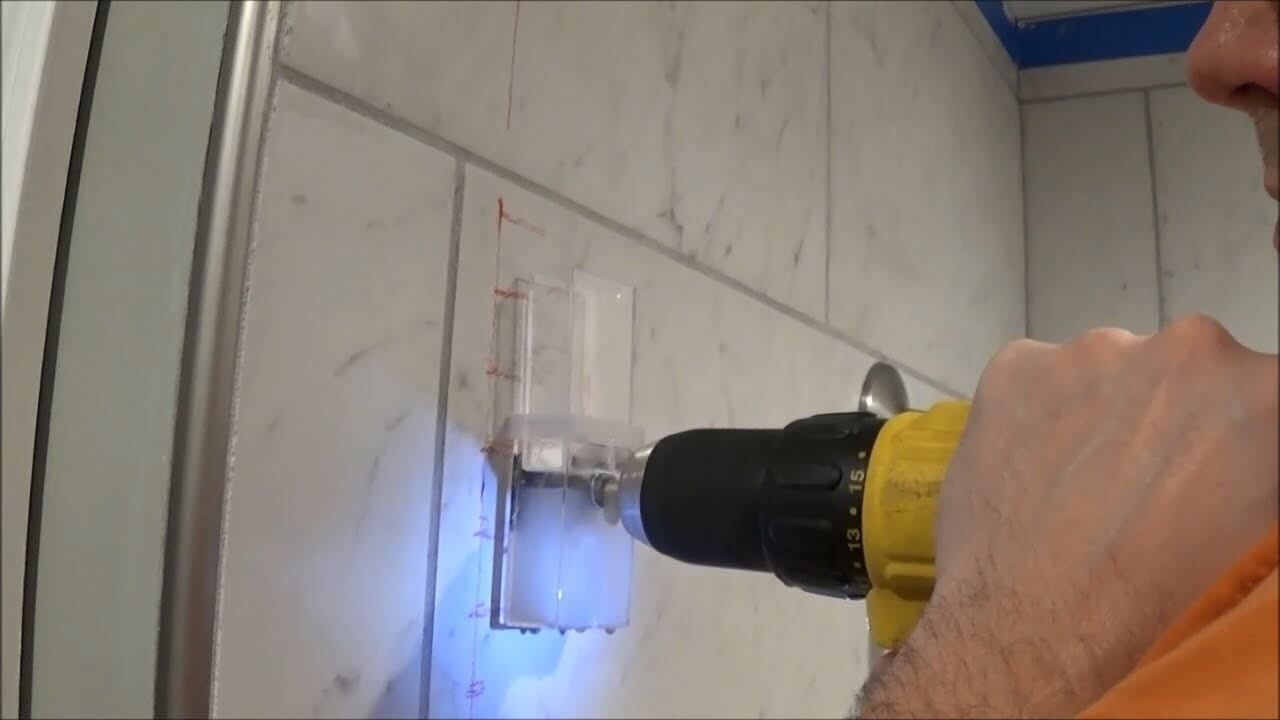
Put an “X” mark on the area to ensure accuracy. A lot of people also use drill guides to ensure higher accuracy.
These guides are produced by many companies that often come with tiles.
These are cases with an opening for the hole to be drilled.
You need to put it on the “X” mark on the wall and then place the drill on the opening to drill the hole. It will ensure you do not miss the mark and drill elsewhere.
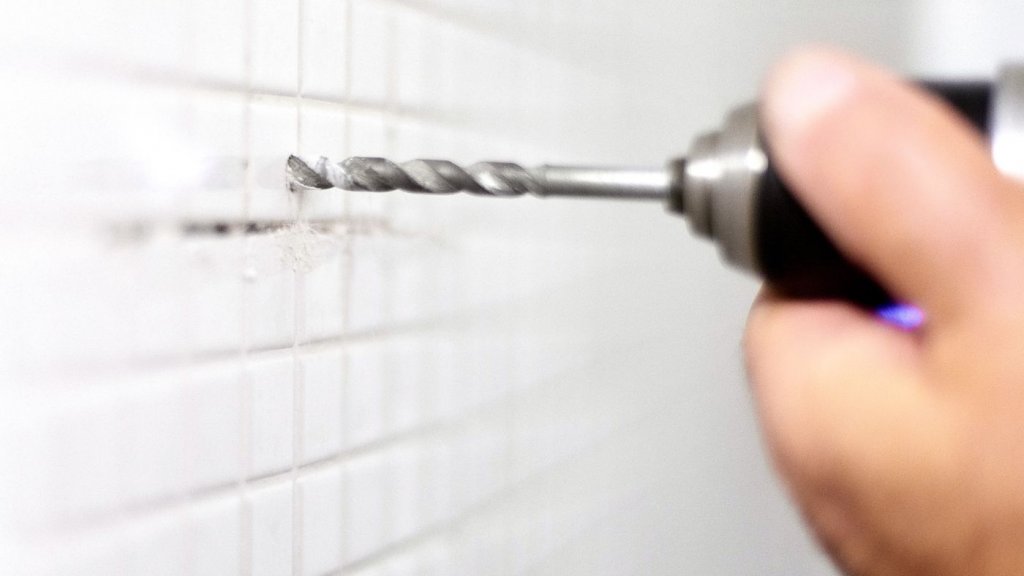
4. Start the Drilling but Slowly and Steadily
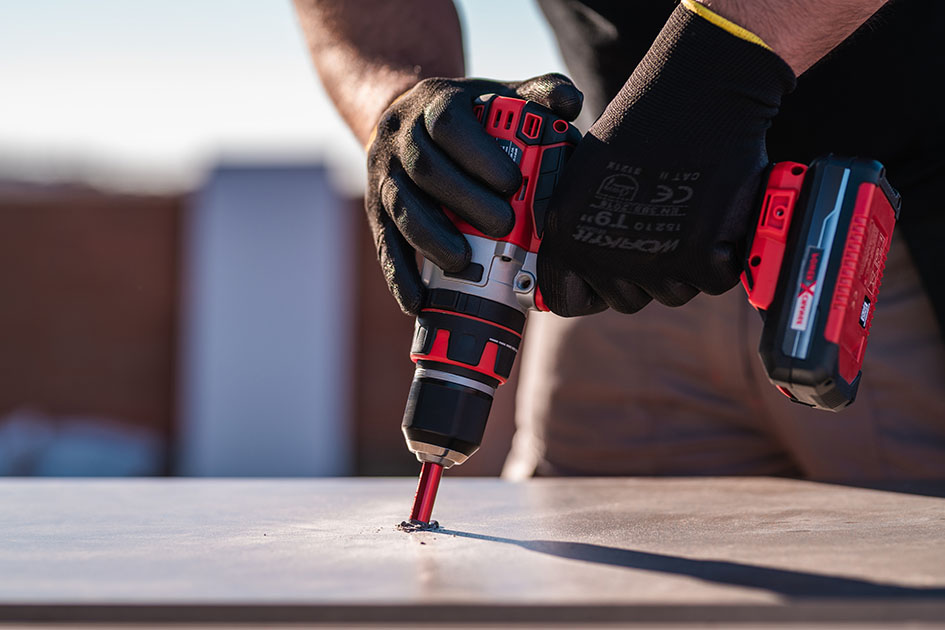
Here is the step that you all have been waiting for! Start the drilling! But again, this step needs even more care and caution than the other steps.
Now that you have the machine in your hand do not go all fierce when you start the drilling; otherwise, all your previous efforts can go down the drain.
Make sure that when you start, you start slowly, that is, at a slower pace.
First, you need to break through the glazed upper layer of the tiles.
This task needs a lot of patience and a steady hand, so only proceed if you are sure you can do it.
Once you break through it and reach the wall, you can increase the pressure and speed a little but do not overdo it.
If you increase the speed too much, your drill will produce excess heat due to friction, and the speed will also create a more significant amount of tremor.
The heat and the tremor together can make the tiles crack.
So, even after reaching the wall, ensure the speed is controlled, and you also manage the heat well with an occasional sprinkle of water.
Please keep your hands steady and proceed cautiously because you only get one try with these.
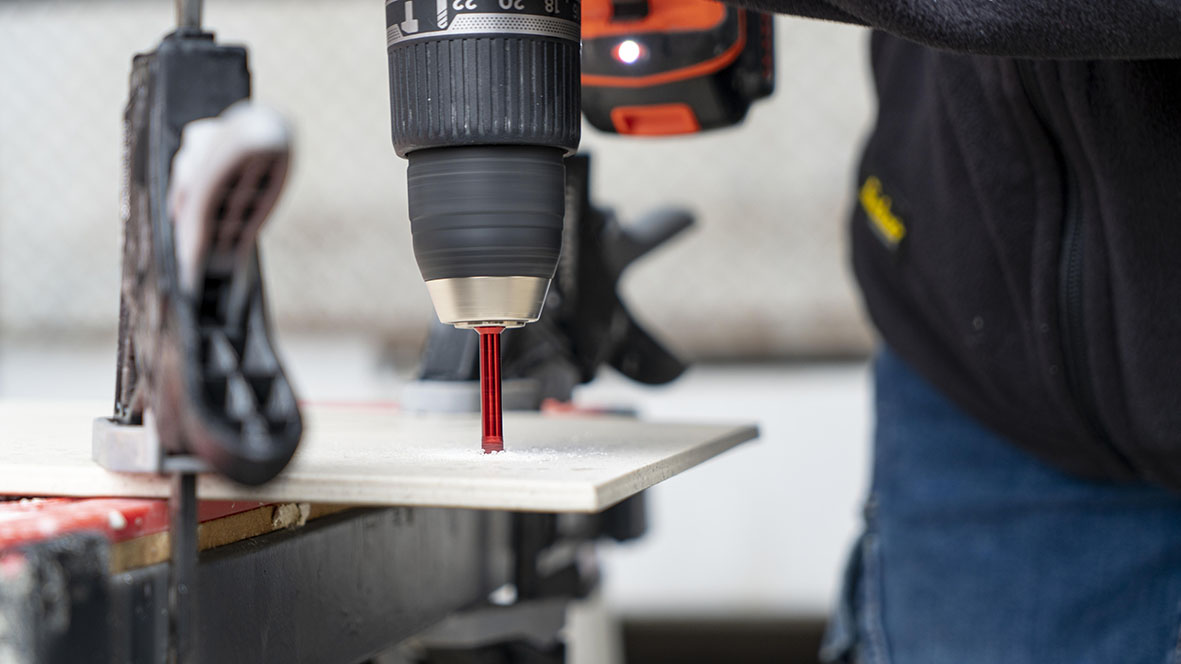
5. Make Sure Your Tiles Are Wet
Keeping some water handy while you are drilling porcelain tiles or, for that matter, any tile is a good idea because when you are drilling holes in the tiles, the drill bit against the tile produces a lot of friction, hence a lot of heat.
Although diamond tips are way more challenging and do not give into heat, they are not invincible.
The excess heat can degrade the quality of the drill bit, reduce its life span, and affect the quality of the drilled holes.
Hence, it is always good to keep some water handy to manage and control the heat generated from the drilling.
There are many ways in which you can keep and use the water.
You can go for a cup of water beside you and dip the drill bit occasionally to cool off the heat from its tip. You can also use a spray bottle for the drilled hole.
It is a great way to reach even the inside of the hole and take away the heat.
You can also use the same sponge and water to wipe the drill bit or occasionally drop some water on the hole.
Lastly, if drilling on the floor, you can also consider creating a pool of water with the cement to help hold the water.
However, you choose to do it, having water handy and spraying it on the drilled hole and the drill bit is mandatory if you want your work done perfectly.
6. Consider Changing the Drill Bit Once You Hit the Wall
You can heave a sigh of relief once you have successfully drilled through the tiles.
The most challenging part is done, and your tile has been drilled through without a scratch or damage.
The drill bit has now reached the wall, and you must keep drilling slowly and steadily to ensure the work is done. But here is another thing that you should keep in mind.
Just because drilling the tiles has been done does not mean all your work is complete, and you can now speed up the process with a higher drill speed and pressure. You still must be very careful.
If you are not careful enough with the pressure and speed, you might blow off the wall when the drill bit strikes the surface of your wall.
If your wall is blown apart, so will the anchors. So, it is a good idea to keep it slow and steady.
If you think the existing drill is not efficient enough to drill the wall, you can change it to match the substrate your tiles are attached to.
Now, what drill bit should you choose for the different substrate types? We will help you with that.
So, let us say it is concrete and cement, then you can use any regular masonry drill bit, but if it is a fiber or wooden substrate, you will need a wooden bit.
Also, for the cement backer boards that are usually present behind the tiles in areas that are likely to be wet, like showers, you can use any regular drill to drill through that.
Essential Checks and Balances for Drilling Porcelain Tile
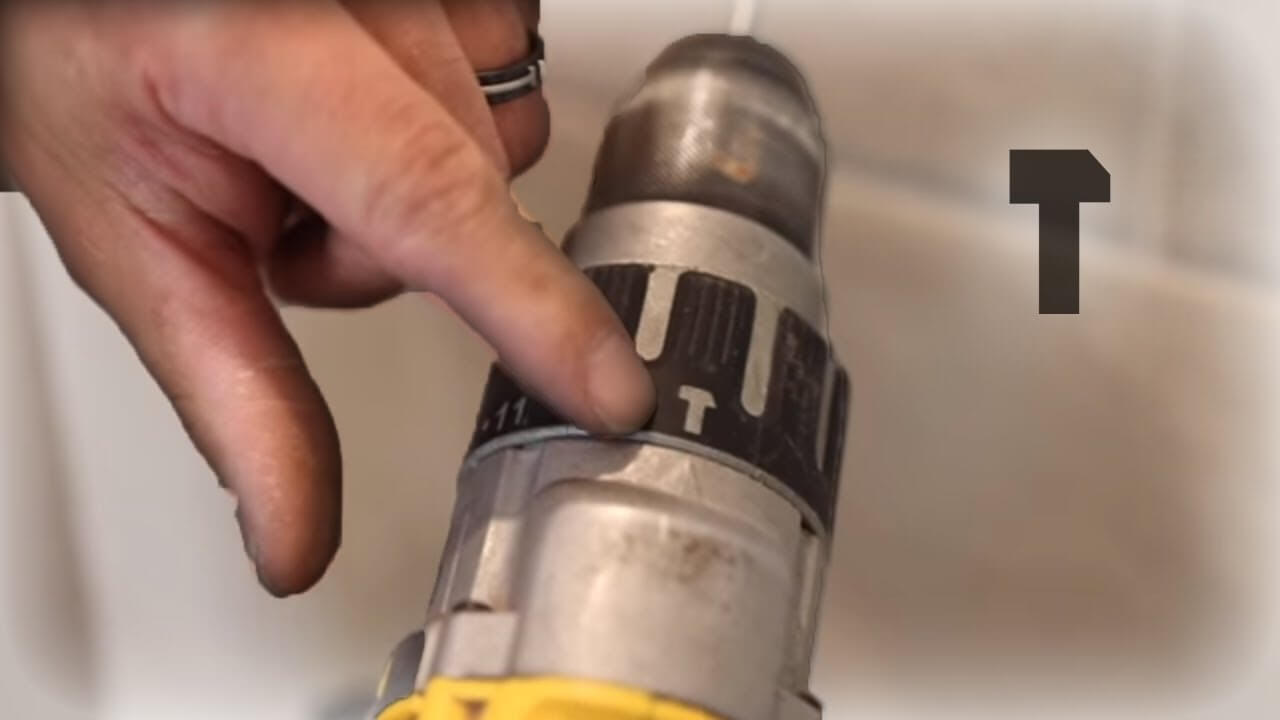
- Avoid Using A Hammer Drill-. Hammer drills are not suitable for drilling porcelain tiles. Its motion is like the motion of a hammer and nail. That is, it moves back and forth. This kind of motion can cause a crack in your tiles very quickly.
- You can also use a cooling lubricant instead of water. Cooling lubricants are a better option than water because they take away the heat caused by friction and reduce friction. Hence increasing the efficiency of the drill.
- If you ever see that your drill is turning red or starts to smoke, stop immediately. Your drill bit is on the verge of getting damaged permanently. If you continue to drill like this, the drill bit might even snap during the work.
- Be extra cautious when you are working at the edge of a tile. Drilling porcelain tiles is tricky, but the positions away from the center are more prone to cracking.
- Always use protection while working with a drill. A pair of safety goggles and a mask are great ideas to protect you from dust particles and small broken pieces from getting in your eyes.
- And lastly, when drilling porcelain tiles, do not drill fast. Keep a slow pace, be patient, have a steady hand, and remember not to use a regular drill bit. It is not efficient enough to do an excellent job with porcelain tiles.
Conclusion
So, this was all that you needed to know about drilling porcelain tile.
Due to their high density, porcelain tiles might be a little more difficult to drill through than regular ceramic tiles, but if you follow these steps, get the right equipment and be a little more patient.
You will get your work done successfully.
We hope all your doubts have been cleared through this article and you were able to drill the perfect hole in your walls.
If you have any further queries, please get in touch with us in the comment section below!